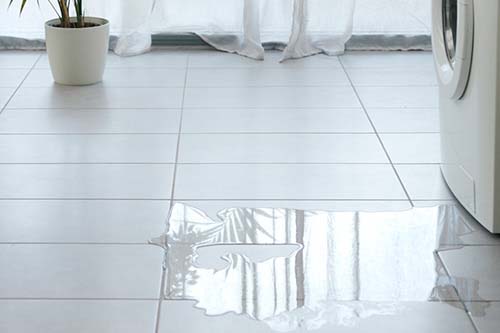
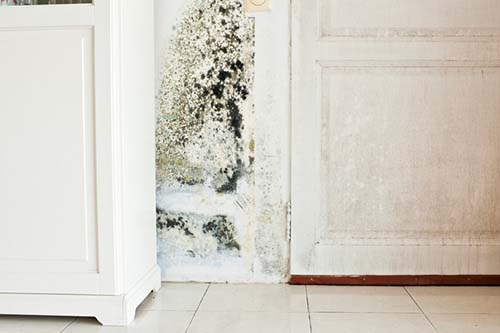
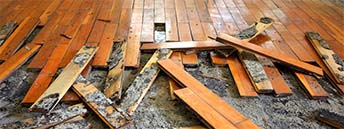
Running toilets do more than just waste water and annoy you with the constant sound of water flow; if left unfixed, a running toilet could spring a leak, leaving you ankle deep in toilet water, and your floors warped with water damage.
To avoid this particularly messy, stressful, and costly situation we suggest correcting the issue immediately.
Don’t worry, repairing a running toilet doesn’t require you to be fluent in the latest plumbing tricks and techniques; it is actually a very simple process that only requires about 30-minutes of your time. With the help of this simple 5-step how to fix a running toilet guide, you’ll become an instant pro on the art of fixing a running toilet, as well as a more savvy homeowner.
Step #1: Flush & Examine
Remove the lid and flush the toilet. As you’re flushing, pay extra close attention to the flapper and chain. Think of the flapper and chain as a bathtub drain: if the chain becomes tangled, the flapper cannot perform the basic function of covering the entire hole at the bottom of the toilet bowl, thus allowing water to constantly run through, greatly increasing your risk of flooding, water damage, and mold growth.
Step #2: Untangle a Tangled Chain
Typically, tangled chains are the most common cause of a running toilet. Chances are, if your chain is tangled, that’s where the issue lies. Simply untangle the chain, then flush the toilet once more; if the flapper sits properly during and after the flush, your problem is solved! If, after untangling the chain and re-flushing, you find that the flapper is still not covering the entire hole at the bottom of the toilet hole, the next course of action is to tighten your flapper.
Step #3: Tighten the Toilet Flapper
To tighten your toilet flapper, you’ll need to reconnect it to the bracket by tightening the pegs that hold the flapper in place. The tightening process is quick, simple, and tool free – all you’ll need is your hands (and this guide, of course).
Step #4: Replace the Toilet Flapper
Now that you’ve successfully secured your flapper, take a minute to check the overall condition. If it is soft and spongy, you’re overdue for a replacement. Don’t panic – toilet flappers run about $10 or less at your local hardware store, and are outrageously easy to install!
Before you can install a new flapper, you have to un-install the old one first. To begin, turn off your water shut-off valve (you’ll find it on the wall behind your toilet), then flush the toilet and remove the old flapper from the pegs at the bottom of the tank. With the old flapper in hand, use a pair of needle-nose pliers to remove the chain. That’s it – that old flapper is history! To install your new one, simply reverse these steps; see, we told you it was easy.
Step #5: That’s a Wrap!
Give your water shut-off valve a quick twist to turn it back on and allow the tank to fill back up with water; everything should be running smoothly (pun-intended). If you’re still experiencing issues, double check
About Woodard Cleaning & Restoration
Woodard Cleaning & Restoration was founded in 1946 by Earl and Nancy Woodard. Located in St. Louis, Missouri, Woodard services the greater metro area (Illinois, St. Charles County, Jefferson County, St. Louis County, and many more). Woodard is proud to serve as the preferred provider for cleaning & restoration services. Our cleaning services include carpet, hard surface, furniture, and rug cleaning for both residential and commercial properties. We also provide water, fire, board-up, storm and smoke restoration services for residential and commercial clients. For information or questions submit a form online or call us at (314) 227-3932.
Follow us on Facebook, Instagram, Pinterest, and Twitter.
You must be logged in to post a comment.