- Cleaning
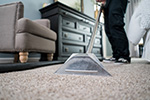
 Professional Carpet Cleaning in St. Louis
The best professional carpet cleaning experience, using our 12-point method.
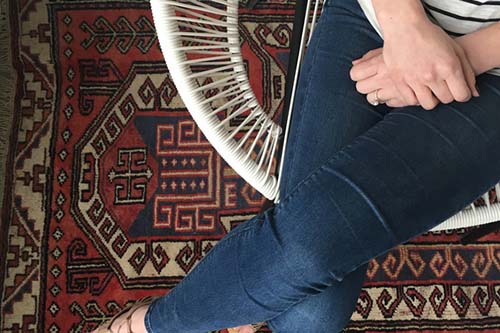
Area Rug Cleaning in St. LouisProfessional area rug cleaning removes stains and maintains vivid colors.
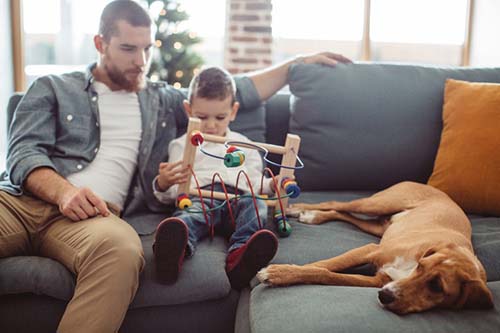
Upholstery CleaningUpholstery cleaning services keep your furniture looking good and smelling fresh.
Disinfection ServicesSanitizing services combat the spread of coronavirus, flu, and bacteria.
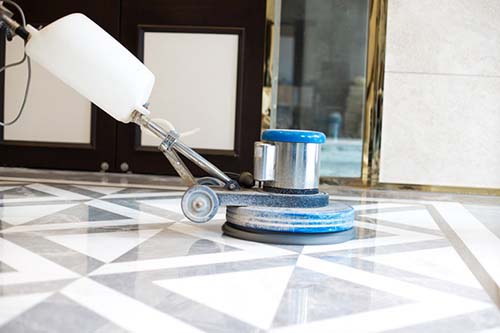
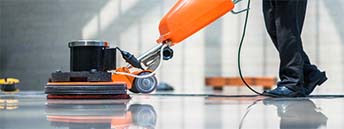
Hard Surface CareHard surface cleaning for floors, countertops, backsplashes, travertine, LVT, and more.
Commercial Cleaning ServicesWoodard is St. Louis’ preferred professional commercial cleaning service, offering carpet, hard surface, and office furniture cleaning.
Restoration-
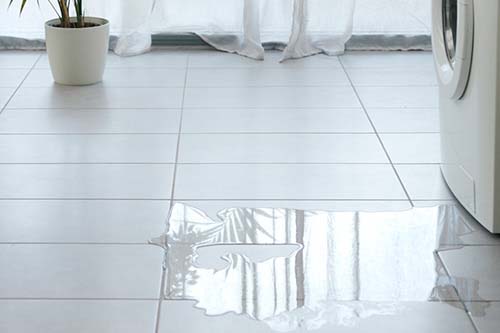
Water Damage
Water damage restoration teams contain, remove, and repair.
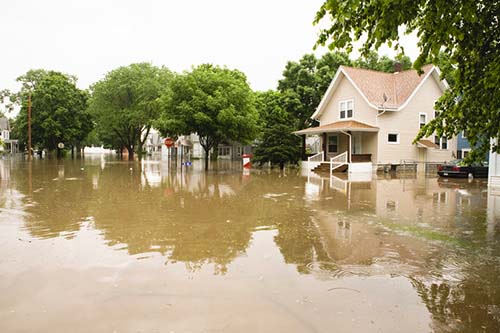
Storm Damage RestorationStorm damage services immediately after tornado, wind, and hurricane damage.
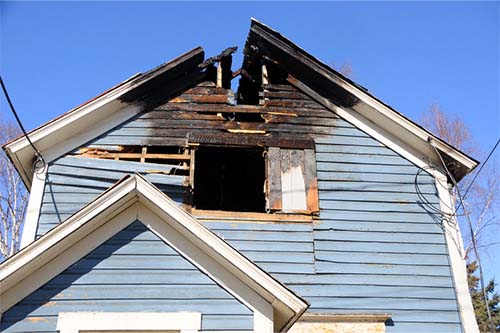
Fire DamageFire damage restoration services utilize the latest technology and techniques.
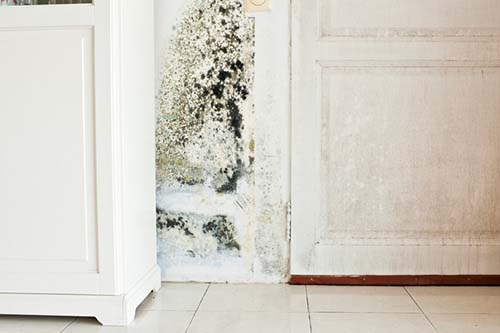
Mold Removal ServicesMold removal services eliminate mold and prevent spreading.
Commercial Restoration ServicesWith a 100+ vehicle fleet equipped to respond to your emergency 24/7, Woodard is the preferred commercial restoration company in the St. Louis area.
Construction-
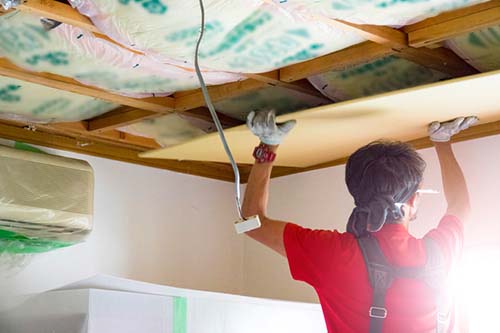
Reconstruction
Highly trained construction teams work with you to rebuild.
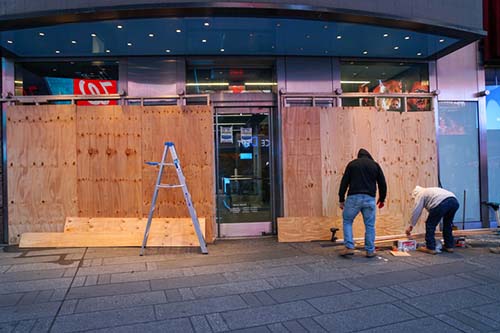
Emergency Board Up Services24/7 board-up services ensure that your property is secure and protected.
Commercial ConstructionOur highly trained commercial construction team is available for your commercial property when you need us. Large or small, Woodard will adapt to your needs.